

Have you noticed Instagram looking a little different lately? Seeing fewer photos from your friends and more and more videos from creators filling up your screen?
In June this year, head of Instagram Adam Mosseri announced that Instagram is “no longer a photo sharing app”, and that going forward the platform will be focussing more on entertaining video content after witnessing the success of competitors such as TikTok.
So, if you are looking to grow on Instagram, you’ll need to shift your content plan to match the platform’s recent changes; and right now the spotlight is on Reels.
What are they?
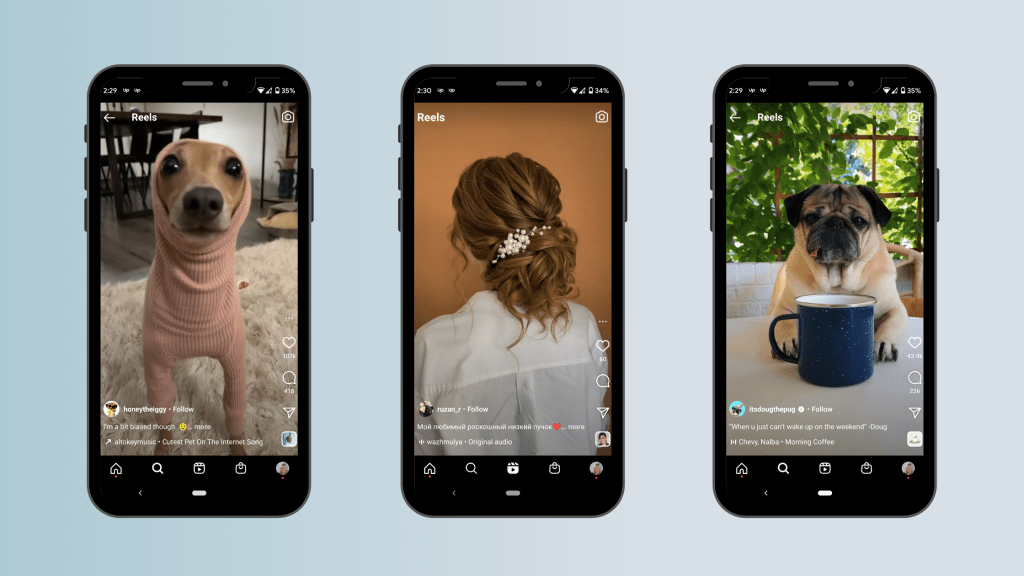
If you are a user of TikTok you will already be familiar with the format of Reels as they are almost identical. Reels are short, vertical videos of up to 60 seconds appearing in a separate tab to the rest of your Instagram feed. They are usually funny, entertaining, interesting or use trending music to capture attention.
How do I make one?
Making your first Reel is so easy and, because Instagram are so keen to push the feature, there are multiple ways to access the Reels camera:
- On your home screen click the + icon at the top and scroll along to Reels at the bottom
- Open up your Instagram stories as if you are about to create a new story, but scroll along the bottom to create a Reel instead
- On the Reels tab, click the camera icon in the top right corner
Once you’ve successfully opened the Reels camera, you can either swipe up to add a video from your camera roll or you can start recording.
When you start creating your Reel, you’ll notice a menu down the side of the screen with several options:
- Music: Here you can choose to add music BEFORE recording your footage. This is useful if you want to dance in time to a song or lip sync to an existing audio
- Length: Choose if you want to record or upload up to 15, 30 or 60 seconds of footage
- Speed: If you want your footage to be in slow-motion or sped up you can change the speed here.
- Effects: You can add effects before recording your footage, such as filters and zooms
- Touch up: This is a beauty filter and will smooth your skin. You can adjust the level of smoothing from zero to one hundred percent.
- Layout: If you want to record more than one video on the same screen you can toggle the options here
- Timer: If you need to be hands-free when recording your video you can add a self-timer option here. You can also pick how long you want the camera to record for which is useful if you want to capture several short pieces of footage.

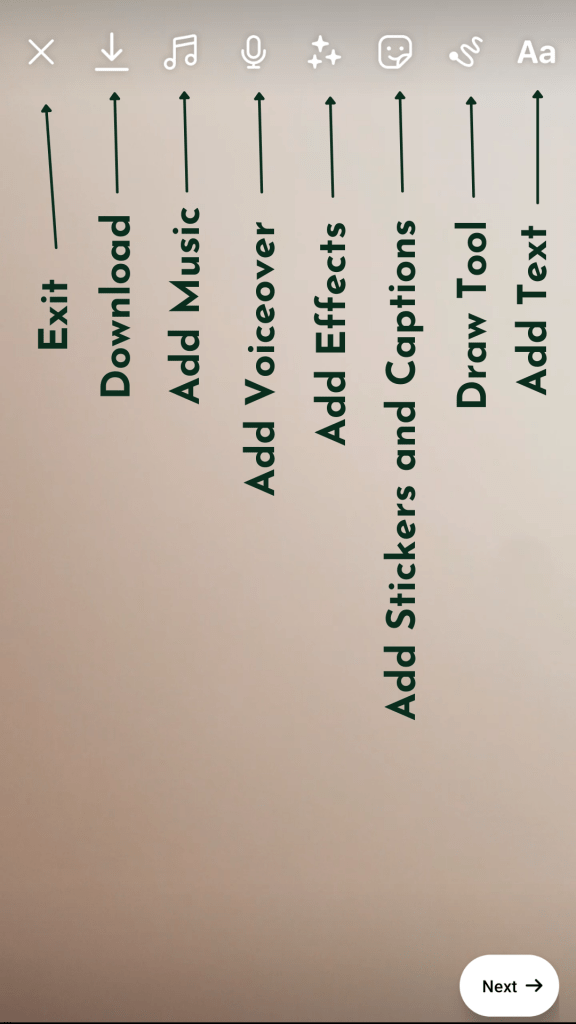
Once you’ve recorded your footage, hit Preview. Here you’ll see more options:
- Exit: This will take you back to the recording screen
- Download: If you want to download your video watermark-free before posting you can do so here
- Add music: Here you can add background music, change the volume of your footage and balance the levels between your original audio and your chosen music .
- Voiceover: If you’d like to add a voiceover, such as a narration or explanation to your video, click the microphone and hold down the red button to record yourself
- Effects: Effects such as filters can be added here
- Stickers: Just like on Instagram stories you can add stickers to your Reel, such as GIFs and time/date stamps. You can also add auto-captions here, which is great for increasing video views on Reels with speech in them as it will also target users watching with the volume down.
- Scribble: Use this tool if you’d like to draw on your video. You can change the size, type and colour of the pen you’re using depending on the effect you’re after
- Text: If you’d rather add text manually than using auto captions you can use the text tool here. You can change the duration of your text using the bar at the bottom of the screen, which is useful if you want the text to appear as you are talking.
Once you’re done, hit Next and you will be taken to the final screen. Here you can add a caption, tag other users and choose your thumbnail. If you’d like to add a custom thumbnail, click on the “Cover” preview image of your video and hit “Add From Gallery”. Keep in mind that your custom thumbnail will need to be the same aspect ratio as your video, i.e. 9:16.
If you want your Reel to appear on your main Instagram grid as well as in the Reels tab you can choose how it will appear in your feed by selecting “Crop Profile Image” to make sure it will look the best it can once on your grid. If you don’t want it to appear on your main feed, you can skip this step and once posted hit the three dots next to your Reel and select “remove from profile grid”.
How does the algorithm work?
The Reels algorithm is fairly different to the rest of the Instagram algorithm. Whilst your feed posts will be shown to mainly just your followers, Reels have a much higher chance of appearing on the explore page or Reels tab for users who aren’t yet following you, giving you exposure to a new audience and potential new followers.
While it’s still a bit of a mystery, Instagram has said that the success of a Reel will depend on several factors:
- Activity on the post: The more users that interact with your Reel, such as by commenting or sharing it with others, the more likely it will be shown to more people.
- What relationship the viewer has to you and whether they’ve watched or interacted with your content before
- The content of your video, such as the audio track used and the quality of the footage.
If you’re thinking of just downloading and reposting your TikTok videos, you should be aware that earlier in the year Instagram released some important information about the Reels algorithm and the type of content they will be prioritising:
- Videos with logos or watermarks (ie, those downloaded from TikTok featuring the TikTok logo) will be shown to fewer people. If you do want to repost your TikTok videos there are ways around this, such as by using apps like SnapTik.
- Low quality videos will also be deprioritised
- Content that is interesting, funny or entertaining is more likely to be successful and shown to more people
- Full-screen, vertical video is best
What type of videos should I make?
Unlike the perfectly crafted posts on your aesthetically pleasing grid, Reels are for entertainment and don’t need to be so polished. There are endless possibilities of what to post, but here are some initial ideas:
- A glimpse of what goes on behind the scenes at your brand or business
- Before and after footage
- Jump on a trend
- Use an existing audio to introduce yourself
- A mini “day in the life” vlog
- A video of a product being packaged up ready to mail to a customer
It’s hard to keep up with Instagram’s ever-changing algorithm, but it looks like Reels are going to be at the forefront for the time being. So grab your phone and your ring light and get filming – and don’t forget to have fun with it!
